
If maintenance and inspection are carried out by the user,
please follow the procedures below and refer to the
operation manual for safe and proper handling.
Maintenance Procedure
-
1
Maintenance preparation
-
2
Equipment Opening
-
3
Removal of Plates and Gaskets
-
4
Plate Washing
-
5
Gasket Installation
-
6
Equipment Assembly
-
7
Equipment Inspection
1.Maintenance preparation
Please review the following.
The edges of the plates are sharp. Before starting work, be sure to wear appropriate protective equipment (such as cut-resistant gloves) and take all necessary safety precautions.
- Check that the equipment is securely fixed in place.
- Record the condition of the equipment (tightening dimensions, leakage location and extent, if any).
- Stop operation and confirm that the internal pressure has been reduced to zero.
- Fully drain the fluid inside the equipment.
- Protect the surrounding area of the equipment.
- Confirm that all parts required for maintenance are available.
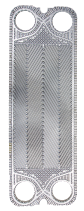 Plate
Plate
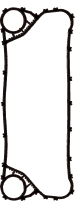 Plate Gasket
 D-Plate Gasket
 E-Plate Gasket
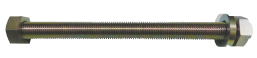 Tightening Bolt&Nut
 Rubber Boot
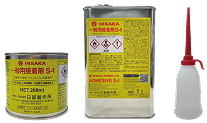 Bond
Bond
※Required parts vary depending on the maintenance work.
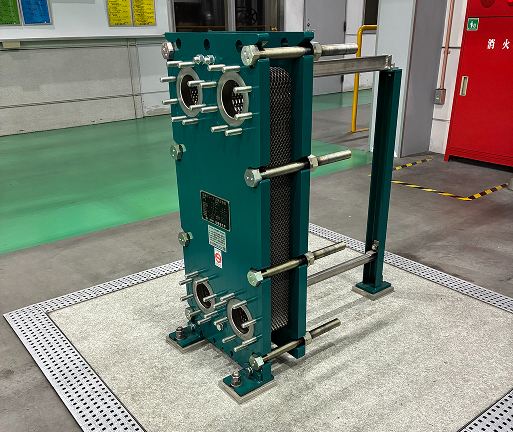
2.Equipment Opening
Open the equipment as described below.
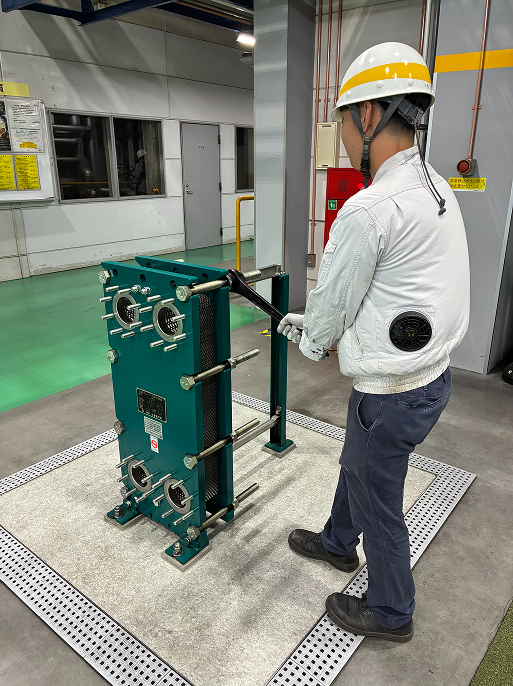
Ensure the bolts are clean, then loosen them gradually.
If piping is connected on the E-frame side, remove it first.
Slide the E-frame backward to remove the plates.
Ensure sufficient space to remove the plates.
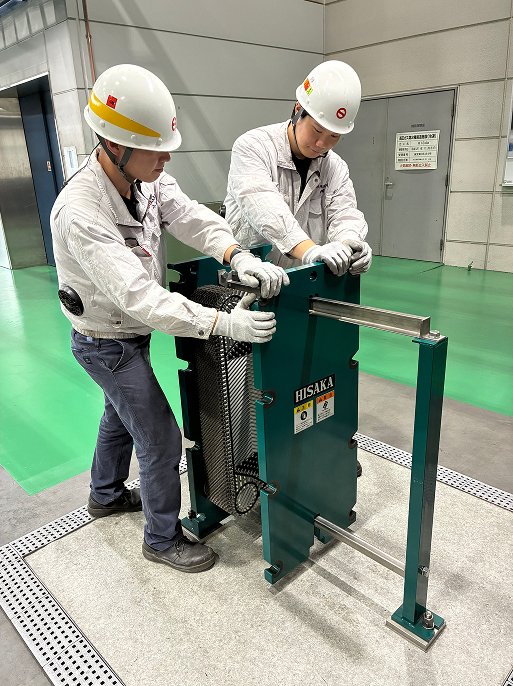
3.Removal of Plates and Gaskets
Remove the plates and gaskets according to the procedure below.
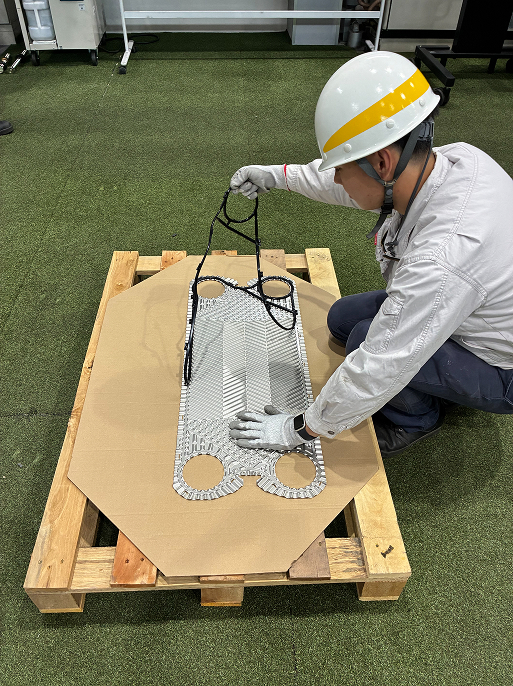
Remove the plates one by one, starting from the E plate (end plate).
Tilt the plates and remove them carefully to avoid deforming the plate hanger.
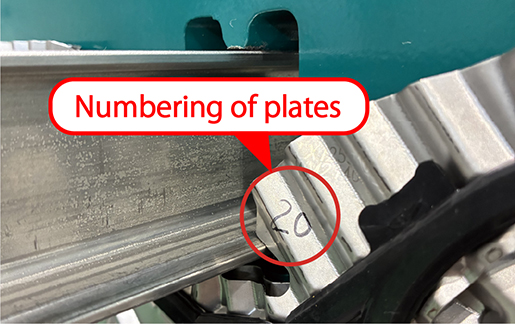
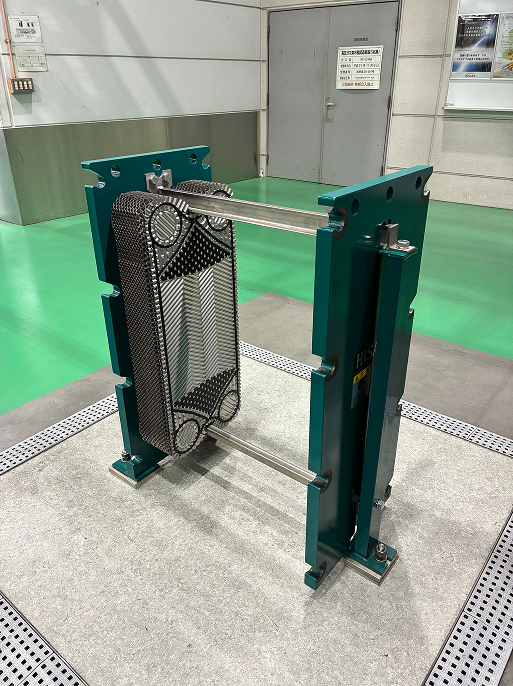
After disassembly, plate arrangement may be lost.
It is recommended to number the plates on the upper hanger section (non-wetted part).
Remove the plate gaskets from the removed plates.
4.Plate Washing
Clean the plates using a deck brush and a jet washer.
When using a deck brush, take care not to scratch the plates.
Remove scale as thoroughly as possible, as it can reduce performance and cause leaks if trapped during reassembly.
Also, ensure that any residue on the plate gasket installation area (seal line) is completely removed to prevent leakage.
5.Gasket Installation
After disassembly of the plate heat exchanger, replacement with new plate gaskets is recommended.
Replace with new gaskets.
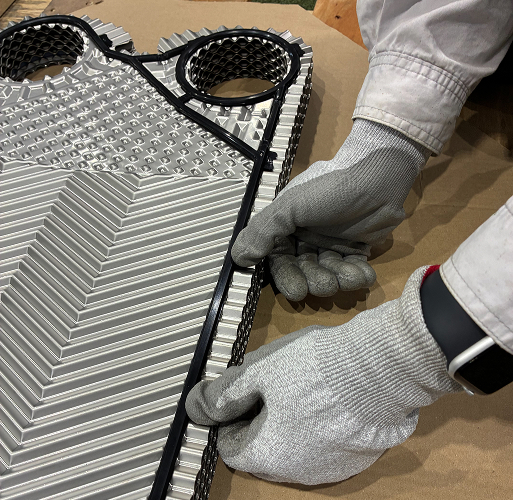
For slit-in gaskets, press the protrusions into the plate slits.
Refer to the gasket installation manual for detailed instructions.6.Equipment Assembly
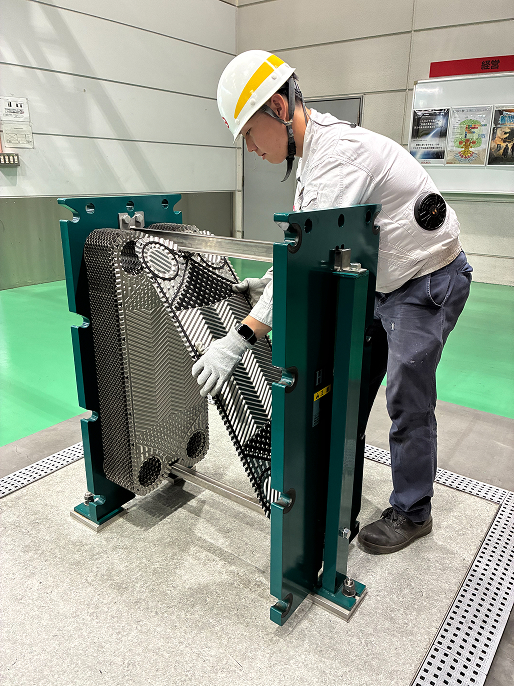
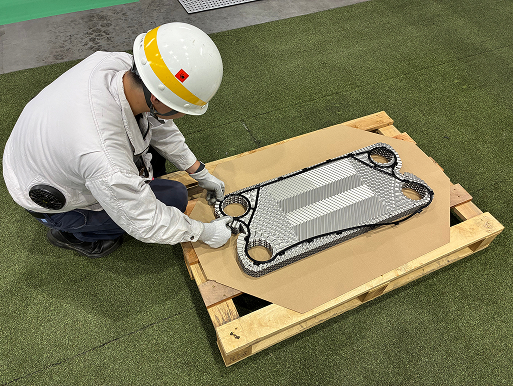
Hang or install the gasketed plates as follows.
Install the plates one by one in order, starting from the D plate (No. 1 plate).
Tilt the plate and hook the hanger onto the upper guide bar (rail).
※After all heat transfer plates have been installed, check that the plate gaskets are not peeled off, that no foreign matter is attached, and that there is no misalignment or detachment.
Move the E-frame toward the S-frame side and tighten the bolts.
Refer to the operation manual for bolt tightening.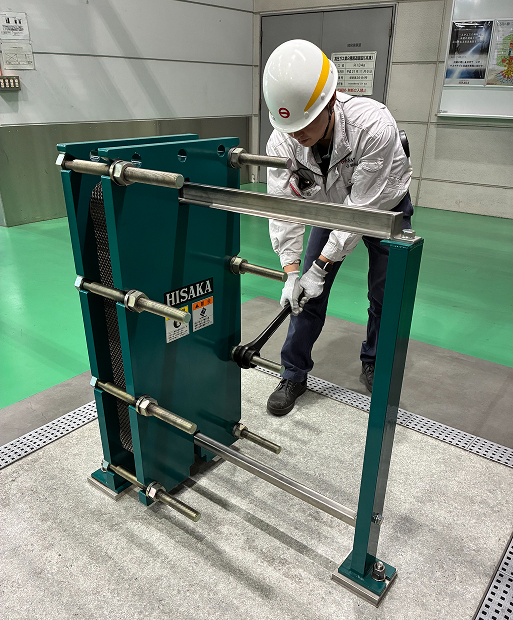
Tighten the bolt gradually until it reaches the maximum specified dimension.
Check that the tightening bolts are not loose and that the bolt heads are properly seated in the frame notches (preventing rotation).
7.Equipment Inspection
Perform the inspection as described below.
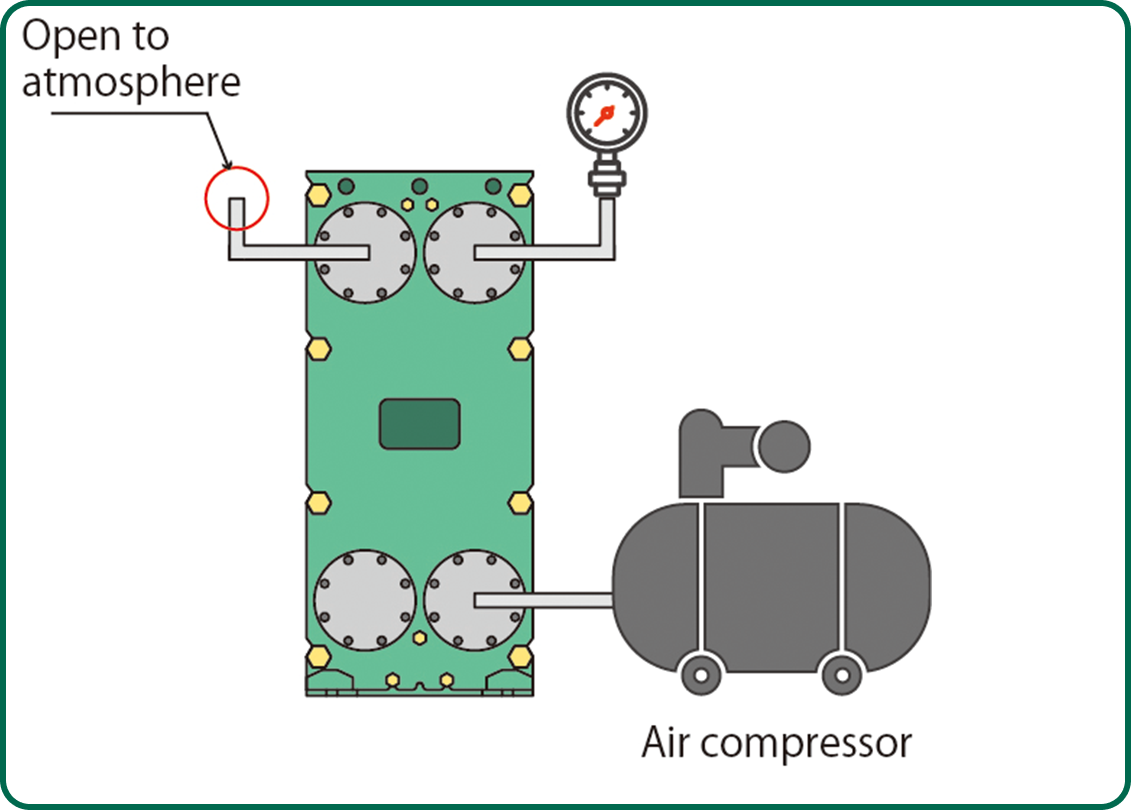
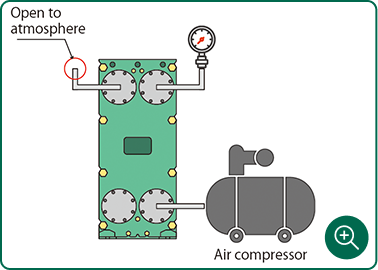
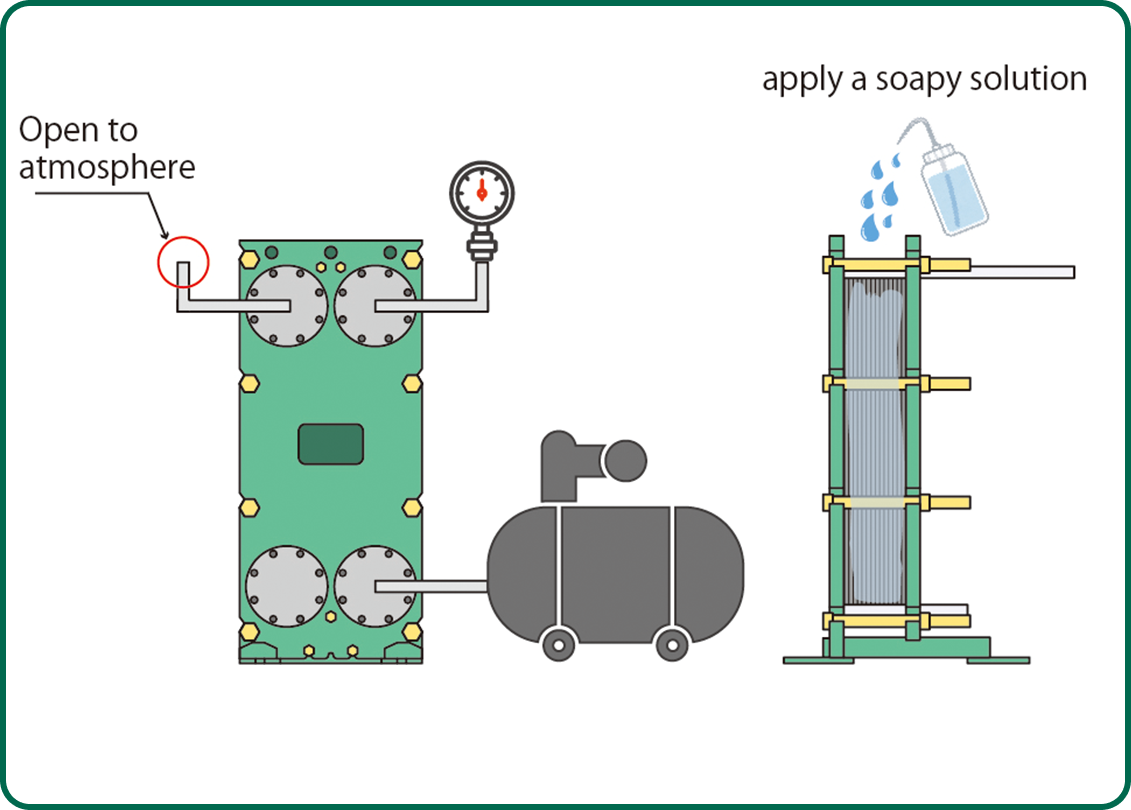
Internal leak inspection
Remove the piping from the heat exchanger and attach test flanges to all inlets and outlets.
- Test medium: air
- Pressurize one side while leaving the other side open to the atmosphere.
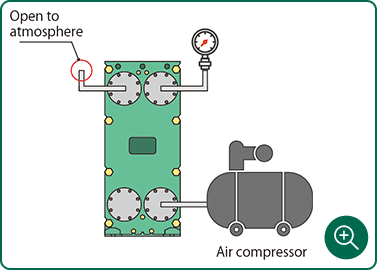
- Gradually pressurize one side to the specified pressure.
- ※If pressure is increased with both sides closed, the pressure on both sides will become equal.
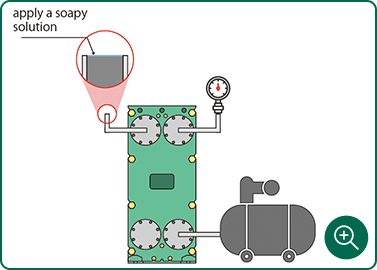
- After pressurization, apply a soapy solution to the end of the piping on the other side.
- If bubbles appear after 5 minutes, internal leakage due to plate damage may be suspected.
- ※If internal leakage is suspected, disassemble the heat exchanger to check the condition of the plates.

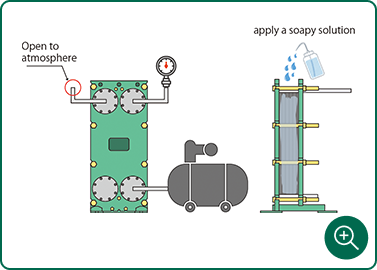
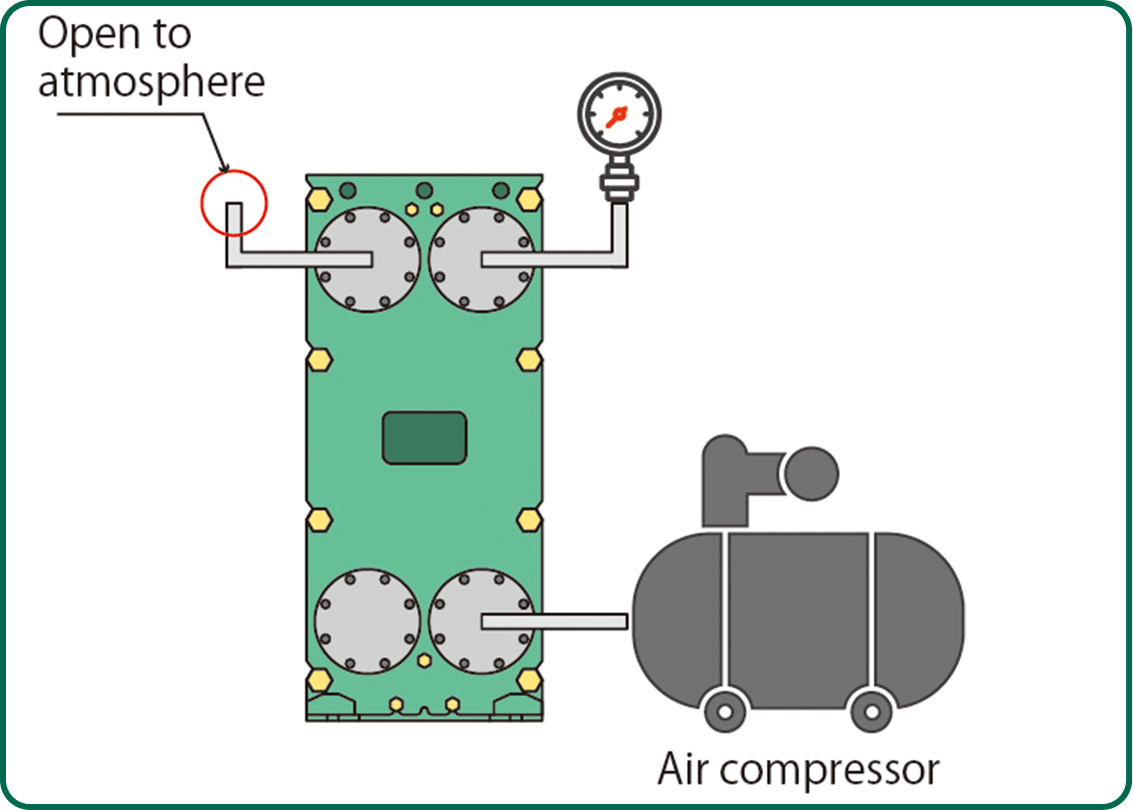
External leak inspection
Remove the piping from the heat exchanger and attach test flanges to all inlets and outlets.
- Test medium: air
- Pressurize one side while leaving the other side open to the atmosphere.
- Gradually pressurize one side to the specified pressure.
- Apply soapy water to the entire surface of the heat exchanger plates.
- After 20 minutes, visually inspect the plates for any foam formation.
- ※If the test medium is water, visually inspect the entire surface of the plates for any leaks.
- Depressurize the heat exchanger and inspect the opposite side for leaks using the same method.
How to Inspect for Plate Damage
Here is how to inspect for plate damage.
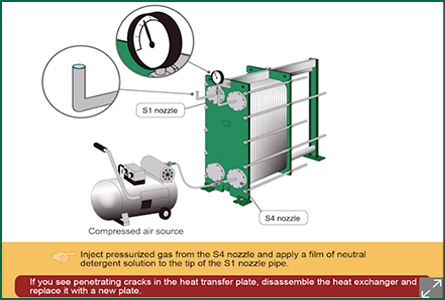
(Method 1) Pneumatic test
Inspection can be performed without disassembling the heat exchanger.
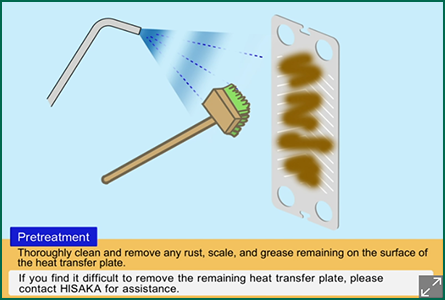
(Method 2) PT Inspection of the Plates
This method is more accurate, because it is performed after removing foreign matter adhered to from the surface of the plates and removing the plate gaskets.
In cases where detaching the piping is difficult
Close the valves near the heat exchanger to isolate the surrounding piping.
Inject compressed air or water through the pressure gauge ports or thermometer ports installed in the piping, and perform the inspection as described above.
- ※Since there is a possibility of minor fluid leakage from closed valves, inspecting the system with the piping still attached may not ensure full integrity.
Please register as a user.
By registering as a user, you can access catalogs available exclusively to registered users.
In addition, by entering the manufacturing number of plate heat exchanger, you will receive notifications about recommended maintenance intervals and other comprehensive after-sales services.
